Windows Explorer Setup Suggestions

Home

The following suggestions assume that you have leased or own a laptop.

It is highly recommended that you learn to use Windows Explorer for file management.
The following tips can make organizing, finding and manipulating your files much easier.

Part 1-Windows Explorer Setup

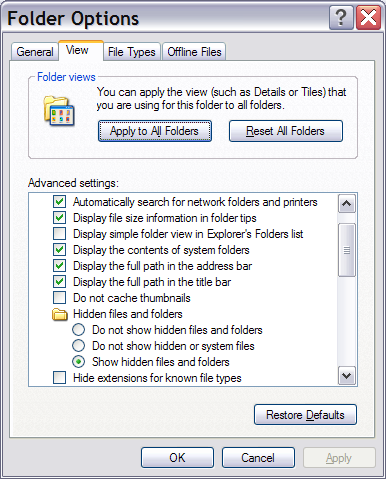
1. Open Windows Explorer and choose Tools>Folder Options... and then choose the View tab. You will see a dialog box like this:


2. I would suggest the following settings:

3. Leave "Display the contents of system folders" unchecked, unless you feel you know enough about Windows that you will not delete an important file.

4. Check both of the "Display the full path..." boxes so that you will be more aware of your location as you browse for files.

5. Under "Hidden files and folders" check "Show hidden files and folders". This will allow you to see the Front Page files and folders that are normally hidden. This can help you clean up and remove FrontPage websites that you have created incorrectly.
This is also handy for finding cookies!

6. Uncheck "Hide extensions for know file types". This will allow you to see file extensions and make it easier to tell the difference between files with the same names, but different types. See the screen shots below.

7. When you have finished choosing your options press "Apply to All Folders" so that your changes take effect.

Here is a view of 4 files with file extensions hidden:
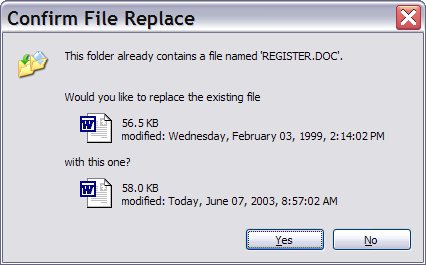
Which of these is the solution file?
Here are the same 4 files with the file extensions displayed:
Here, it is much easier to figure out which file is the Solution file with the extension ".sln"


Part 2-Creating a folder structure

In order to keep your work-homework, assignments, projects...organized it is recommended that you create a folder structure using the following guidelines. You do not have to use this exact structure, but you should at least follow these general rules. Note that these examples assume the current laptop image sets up the "My Documents" desktop icon to point to the folder D:\Data. We will use these terms interchangeably in these instructions.

1. Store all of your data files somewhere under the folder D:\Data. Because this will make backup of your data (you do backup your data, right?) much easier. It also will make restoring your data much easier if your hard drive fails or you change laptops for some reason.


2. Create some type of folder structure. Do not just put all of your files into D:\Data or the My Documents folder. To do so increases the risk of overwriting a file that you created months ago that just happens to have the same filename that you are using in a completly different course, like Register.doc shown here.

How do you know whether these are the same files, or not; and whether it is alright to replace the existing file? Keep your work organized and you will not have this problem.


3. Develop a file and folder naming convention. Avoid using characters other than alphanumeric (a-z and 0-9) and the underscore(_) character. Try not to use spaces in you filenames. If you start putting poorly named files on websites users visiting your website will experience a variety of problems..


With those guidelines in mine, here is an example of one possible folder structure:


Home